Ice Dams Forming at the Roof Edge Every Winter? Why and How to Stop Them
Quick Answer: Ice dams form when heat escaping from the house warms the upper roof, melts the snow sitting on it, and that meltwater runs down to the cold eave and refreezes into a ridge of ice. Because the overhang hangs out past the heated house, it stays below freezing while the rest of the roof does not, so the ice builds only at the edge. The lasting fix is not on the roof surface at all. It is air-sealing the ceiling, adding insulation to the right depth, and balancing attic ventilation so the whole roof stays one cold, even temperature.
You have seen it more than one winter in a row. A thick lip of ice builds along the bottom edge of the roof, fat icicles hang off the gutter, and after a thaw you find a water stain creeping across a bedroom ceiling or a damp patch high on an exterior wall. You chip at the ice, you run a rake along the edge, and by January it is back in the same spot. If it keeps returning to the exact same stretch of roof every year, that is not bad luck. It is a message about how heat is moving through your house.
Across Rhode Island and southeastern Massachusetts, ice dams are one of the most common cold-weather roof problems we get called on, and the pattern is almost always the same. The homeowner is treating the ice, when the real trouble is happening inside the attic. Here is what is actually going on at that roof edge, and the order of work that stops it from coming back.
What an Ice Dam Actually Is
An ice dam is a ridge of ice that forms at the edge of the roof and blocks melting snow from draining off. Once that ridge is in place, water pools behind it instead of running to the gutter. It sits there as liquid, works its way under the shingles, and finds any gap in the roof covering. From there it drips into the attic, soaks the insulation, and shows up inside as stained ceilings, peeling paint, or wet exterior walls.
The part that trips people up is the temperature split. For a dam to form, you need snow on the roof and two different surface temperatures at the same time: the upper part of the roof above freezing, which is 32 degrees, while the lower edge stays below it. The snow on the warm upper section melts, the water travels down, and it hits the cold overhang and turns back to ice. The dam grows as more snow melts and feeds it, but it only builds on the portions of the roof that stay below freezing, which is why it parks itself at the eave and the gutter line.
So the question that actually matters is not how to melt the ice. It is why the top of your roof is warm enough to melt snow in the first place.
Why the Edge Freezes While the Middle Melts
Since most ice dams form at the edge, there has to be a heat source warming the roof higher up. In nearly every case, that heat is coming from inside the house and leaking up through the attic. The eave hangs out past your heated walls, so it never gets that warmth and stays cold. The rest of the roof does not. Here is where that escaping heat usually comes from.
Air leakage through the ceiling
Warm air escapes through gaps around recessed lights, attic hatches, plumbing, wiring, and wall openings, carrying heat directly into the attic. This uneven warming of the roof is one of the most common causes of snow melting and recurring ice dam formation.
Insulation that is thin, packed down, or uneven
Insufficient, compressed, or uneven attic insulation allows heat to move through the ceiling and warm the roof above. Missing insulation over additions, low roof slopes, or knee walls often creates cold-weather trouble spots where ice dams frequently develop.
Ventilation that cannot do its job
Attic ventilation depends on continuous airflow from soffit vents to ridge vents. When vents become blocked or airflow is interrupted, trapped heat remains beneath the roof deck, creating uneven roof temperatures that encourage snowmelt and ice dam formation.
Hidden heat sources up top
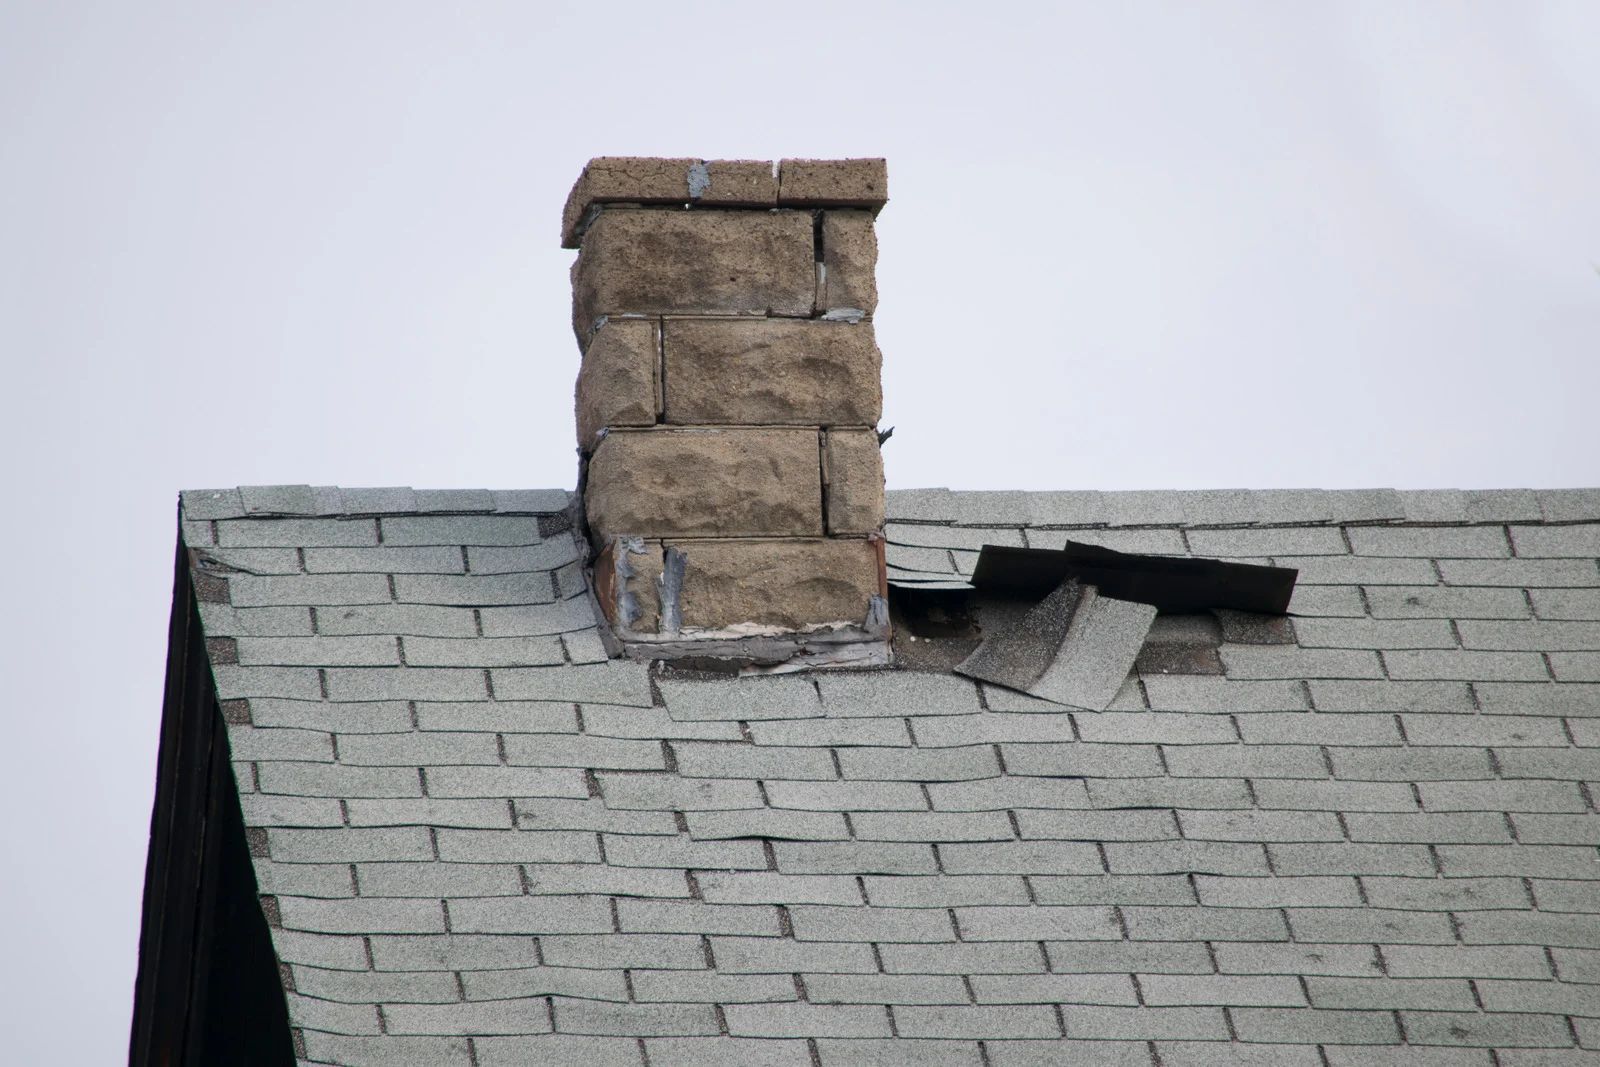
Warm chimneys, leaking attic ductwork, and bathroom or kitchen exhaust fans venting into the attic create concentrated heat beneath the roof. These localized hot spots melt snow unevenly, allowing water to refreeze at the roof edge and form ice dams.
Put those together and you get a roof that is warm in the field and cold at the edge, which is the exact recipe for ice at the eave.
TIP: Pay attention to where the icicles and ice ridge form and how they line up with what is below. Ice that returns over a bathroom, above recessed lights, near the chimney, or along an addition is pointing you straight at the heat leak feeding it. Snapping a few photos each winter, from the same spot, gives whoever assesses the roof a real map of where the warm air is escaping.
The Fix Starts Inside the Attic, Not on the Roof
Stopping ice dams comes down to one idea: keep the whole roof the same cold temperature as the eave. You get there by cutting the heat that reaches the roof and letting cold air move freely underneath. The work happens in a specific order, because doing it out of order wastes effort.
Seal the ceiling first
The first step is sealing air leaks between the living space and attic around light fixtures, access hatches, plumbing, wiring, and wall tops. Stopping warm, moist air from escaping greatly reduces heat loss while helping prevent attic condensation and future moisture problems.
Add insulation to the right depth
After air sealing, adding sufficient attic insulation reduces heat transfer through the ceiling. Even coverage with recommended insulation levels and clear airflow at the eaves helps maintain consistent roof temperatures, reducing conditions that contribute to recurring ice dam formation.
Balance the ventilation
Proper attic ventilation allows cold air to enter through soffit vents and exit through ridge vents, removing excess heat before it warms the roof. Balanced airflow, combined with vent baffles, helps maintain consistent temperatures and reduces the likelihood of ice dams.
Handle the trouble spots
Pay close attention to areas that release concentrated heat, including bathroom fans, kitchen exhausts, dryer vents, ductwork, and chimney openings. Properly sealing, insulating, and venting these locations eliminates localized heat leaks that can trigger ice dam formation even after other improvements.
Done in that order, the roof stays cold and even, the snow melts slowly and naturally from sun and air rather than from below, and the water has nowhere to pool and refreeze.
What to Do About a Dam That Is Already There
The steps above prevent next year's dams. If one is sitting on your roof right now and water is finding its way inside, the goal shifts to relieving it without making things worse.
The safest move from the ground is to pull snow off the lower few feet of roof with a roof rake, which removes the fuel the dam needs to keep growing. If water is actively coming in, carefully melting a narrow channel through the dam lets the trapped water drain, though that is only a short-term patch and the channel closes back up within days. None of this fixes the cause, but it buys time until the heat-loss work can be done.
WARNING: Do not climb onto a snow-covered or icy roof, and do not go at the ice with a hammer, hatchet, or chisel. You are far more likely to fall or drive a tool through the shingles and flashing than to solve anything, and a puncture turns a seasonal nuisance into a year-round leak. Snow and ice work on a roof is genuinely dangerous and belongs to people set up to do it safely from the right equipment.
Where Roofing Details Actually Fit
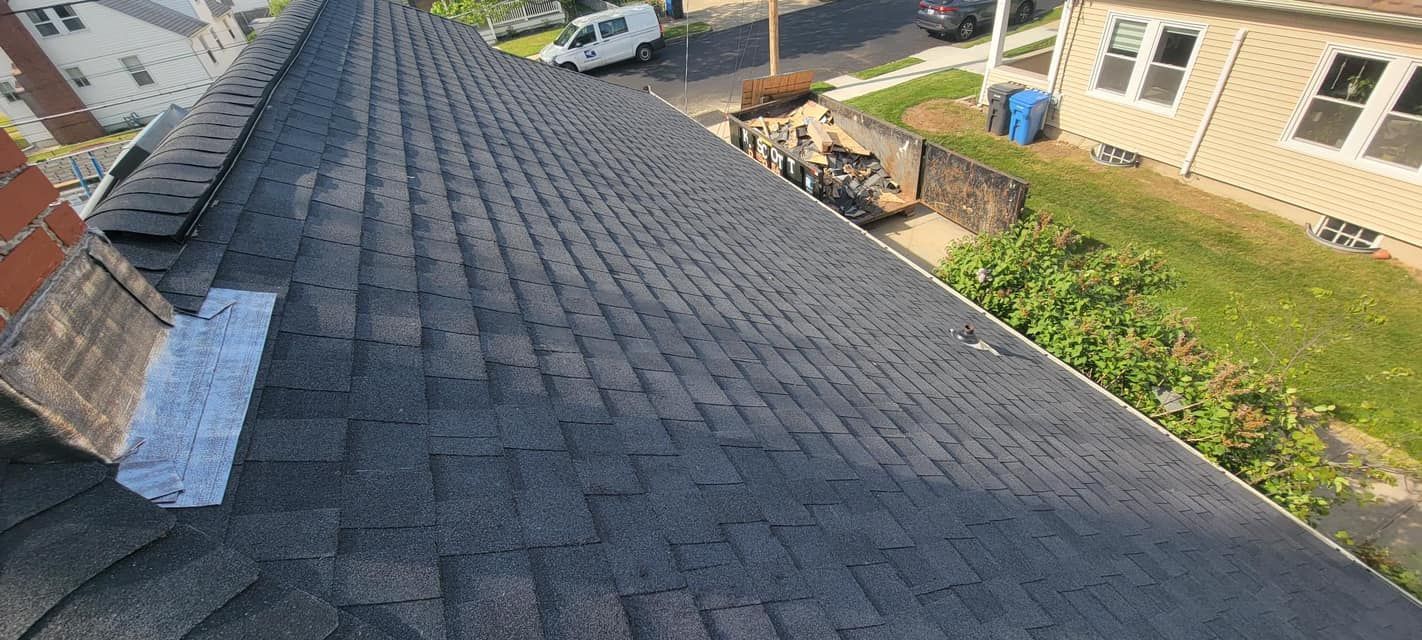
People often assume the roof covering itself should stop ice dams, and it helps, but it does not prevent them. When a roof is installed or replaced, a self-adhering ice-and-water membrane goes down along the eaves, in the valleys, and around penetrations. That membrane seals around the roofing fasteners and gives water a watertight layer to run over if a dam ever does form. To protect the vulnerable zone, it should extend up the roof to at least 24 inches past the interior wall line, so the area above the cold overhang is covered.
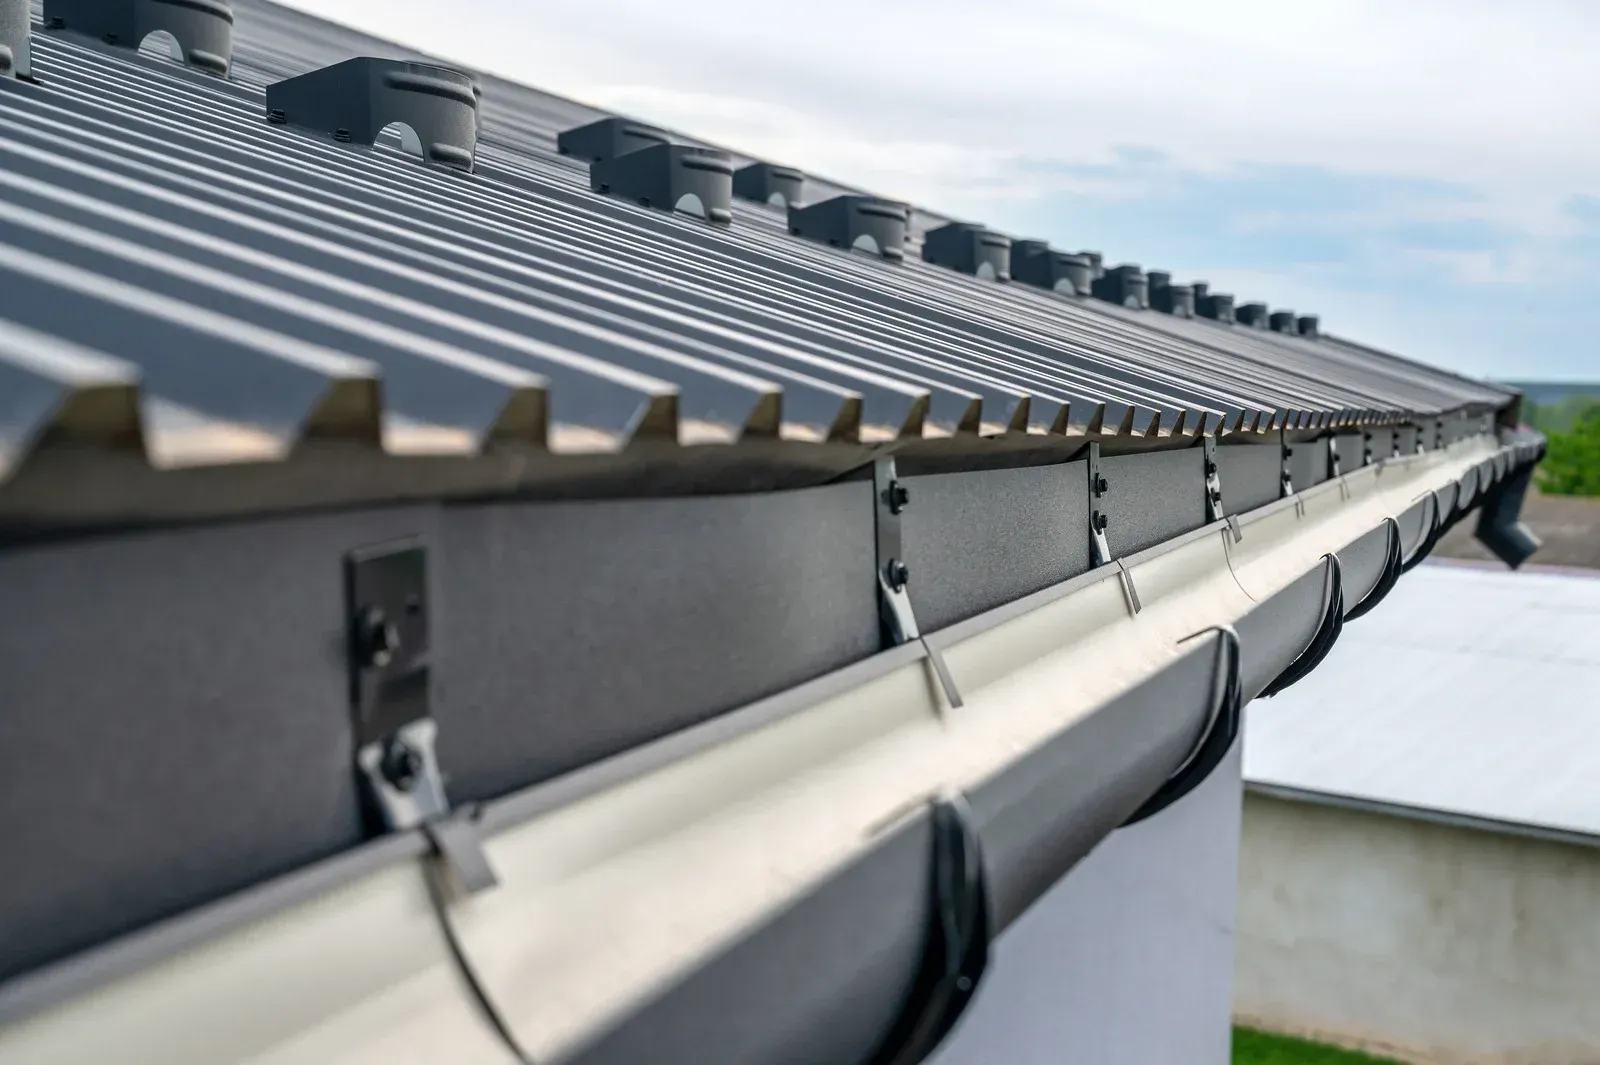
That membrane is your backup, not your prevention. It keeps a dam from turning into an interior leak, which is a real benefit on our steep-winter roofs, but the ice will still form if the attic keeps feeding heat to the sheathing. Good flashing and drip edge at the eave matter too, giving water a clean path off the roof and into the gutter. The durable answer is always the same combination: get the attic right so dams do not form, and let the roofing details handle the water if a hard winter throws one at you anyway.
Frequently Asked Questions
Why do ice dams keep forming in the same spot every winter?
Ice dams that return to the same location usually indicate an ongoing heat leak. Escaping warm air, insufficient insulation, or heated ducts warm that section of the roof, causing snow to melt and refreeze at the eaves.
Will cleaning my gutters stop ice dams?
Clean gutters improve drainage but do not prevent ice dams. The real issue is uneven roof temperatures caused by escaping heat. Gutters may collect refreezing water, but they are not the source of the problem itself.
Is it the roof or the attic that causes ice dams?
In most cases, the attic is responsible. Heat escaping through air leaks and inadequate insulation warms sections of the roof unevenly, making attic improvements far more effective than simply replacing or repairing roofing materials.
How much insulation should my attic have to prevent them?
Cold-climate attics generally perform best with insulation levels around R-49 to R-60. Proper air sealing and maintaining clear ventilation paths are equally important, ensuring insulation works efficiently without blocking airflow at the roof edges.
Can I just melt the ice off or knock it down myself?
Using a roof rake from the ground is generally safe for removing snow. Climbing onto an icy roof or striking ice with tools increases fall risks and can damage shingles, flashing, and other roofing materials.
Does a new roof automatically prevent ice dams?
No. A new roof offers better protection with ice-and-water barriers, but ice dams can still form if attic heat escapes. Combining quality roofing with improved insulation, ventilation, and air sealing provides the most effective long-term solution.
Keeping the Edge Cold and the Water Moving
An ice dam at the roof edge is a symptom, and the symptom is always warm air escaping where it should not. Chip at the ice all winter and it comes right back, because the cause is untouched. Get inside the attic instead, seal the ceiling, bring the insulation up to depth, and open a clean path for cold air from soffit to ridge, and the whole roof holds one even temperature. Snow melts the way it should, water runs off the edge, and the ridge of ice that stains your ceilings simply stops forming.
Schedule a winter roof and attic assessment
— If ice keeps building at your roof edge and staining ceilings inside, the answer is finding the heat leak feeding it, not fighting the ice every January. TKO Builders, LLC
looks at the whole system, including attic air-sealing, insulation depth, soffit-to-ridge ventilation, and the eave roofing details that keep water out if a dam ever forms. With 20
years of experience serving Warwick, Rhode Island, the licensed, insured, ShingleMaster-certified team delivers lasting solutions instead of temporary fixes. Reach out for a free, no-pressure consultation and head into next winter with a roof that stays cold at the edge and dry underneath.